# Firearms Inventory
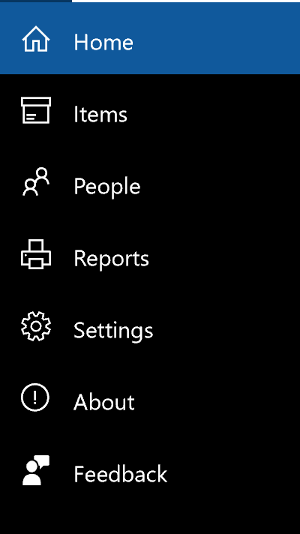
## Navigation
## Items Page
This is where you add or view your items.
### Item Menu

From left to right, Filter Items, Add Item, Delete Current Item, View Item Audit, A/D Report
#### Filter Items
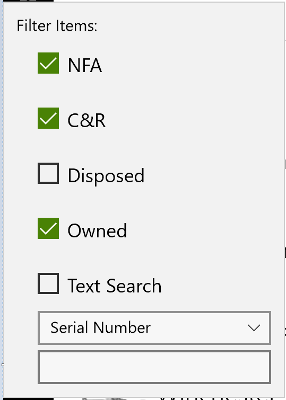
Selected items will be displayed on the items page. The default is to show the owned items, you can also perform a text search, select Text Search and the select the field to search and then provide a search term, the results will be displayed.
#### Item Acquisition/Disposition Report
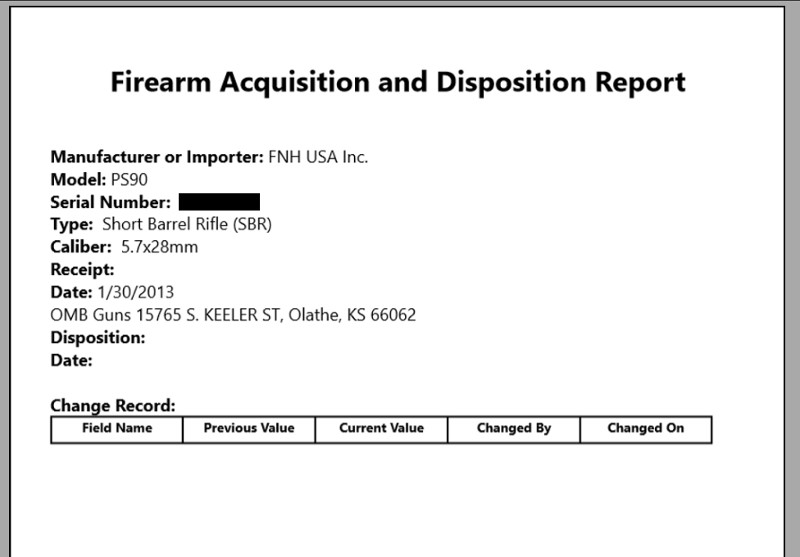
This is a Acquisition/Disposition for the selected item.
#### Item Audit

This will show any tracked changes, the system only tracks changes that would impact the Acquisition/Disposition report. Clicking the save icon on this menu will export the contents as an xlsx file.
### Item Attachments
#### Images/Documents
You can add images and document to each item. Tags can be applied to images and documents. Images can be selected as the icon for the item or added to the report.
##### Add an image

Select the green plus to add a new image.
##### Modify image tags and options
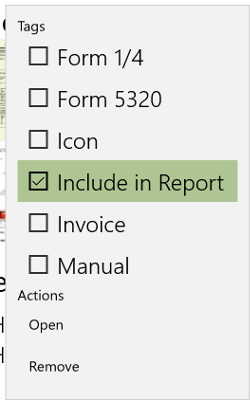
Right click or long press to pull up the menu.
Select Icon to set the selected image as the icon for the item.
Select Include in Report to have the image included in the Insurance Report.
##### Add an document
Select the green plus to add a new document.
##### Modify document tags and options
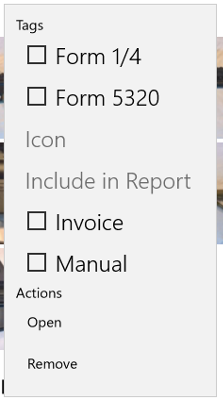
Right click or long press to pull up the menu.
Select all required tags.
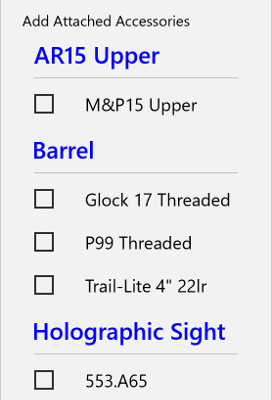
##### Attach or Remove an Accessory from an Item
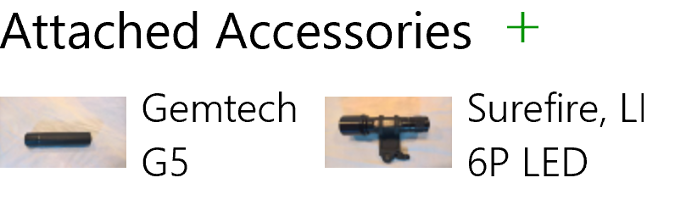
Accessories can be linked to an item, they will then be included in the insurance report and the total calculated value for the item.
#### Notes
Notes will be included on the Insurance report.
### Record an Acquisition or Disposition
Select the green plus next to either the Acquisition or Disposition field.
This will bring up the A/D submenu, from here you can fill in the required details.
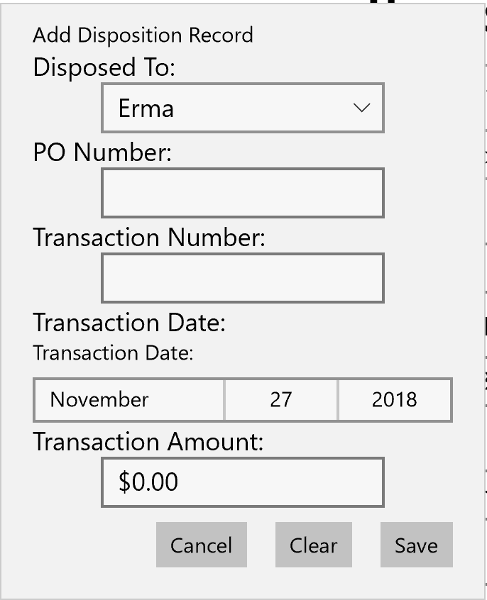
Note, once the menu comes up, to remove the record you must click clear, cancel will only roll back changes made to an existing A/D record.
## Add or Edit a Company or Individual
If you would like to add or edit a manufacturer, importer, or contact to be used in the event of an acquisition or disposition, this is completed through the companies and people page.
The editing bar is used to add, delete, or save a contact.
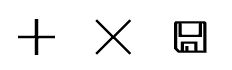
- Plus Icon - Create a new contact
- X Icon - Delete the current contact
- Save Icon - Save changes made to the current contact
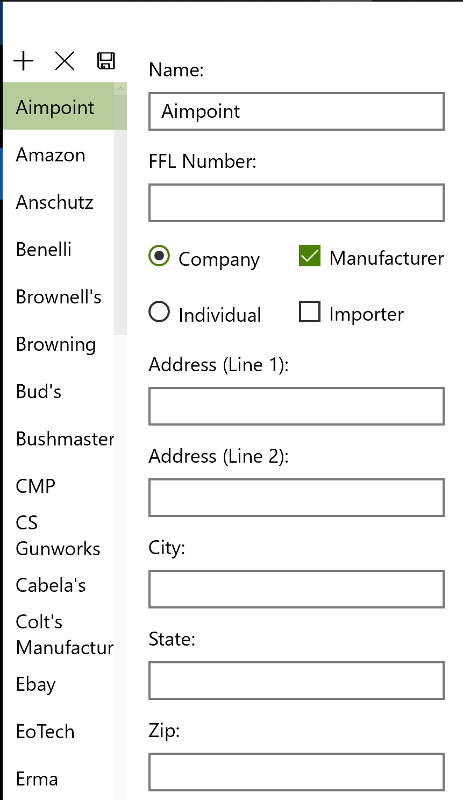
Fields other than the name are not required.
- Checking the manufacturer option will mark the contact as a manufacturer and it will subsequently be available in the items page.
- Checking the importer option will mark the contact as an importer and likewise make it available as an importer on the items page.
## Settings
The settings page is where options can be edited or added to the respective drop downs in the items page.
### Types and Subtypes
#### Types
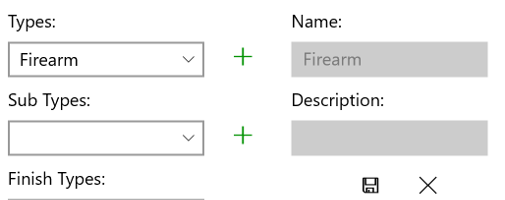
Some types are unable to be edited, but other types may be added or edited as needed.
Selecting a type or clicking the green plus to create a new type will allow the type to be edited. The save icon will save any changes and the x icon will delete the entry.
#### Subtypes
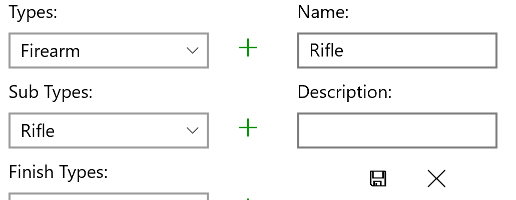
To edit or add a subtype, you must first select the type that the subtype will be linked to. After that the editing procedure is the same.
### Other Settings
- Finish Types
- Conditions
- Stock Types
- Caliber Types
- Locations
- File/Image Tags
All of the other settings are edited in the same manner and will then be available on the items page.
### Open Data Folder
This will open the data folder on the local drive.
## Reports
There are three types of reports, but they are all generated from the report page. You can select the report start and end date and what items will be included. When selecting the Acquisition/Disposition report you are limited to firearms and the accessories and others options will be unavailable.
#### Acquisition/Disposition
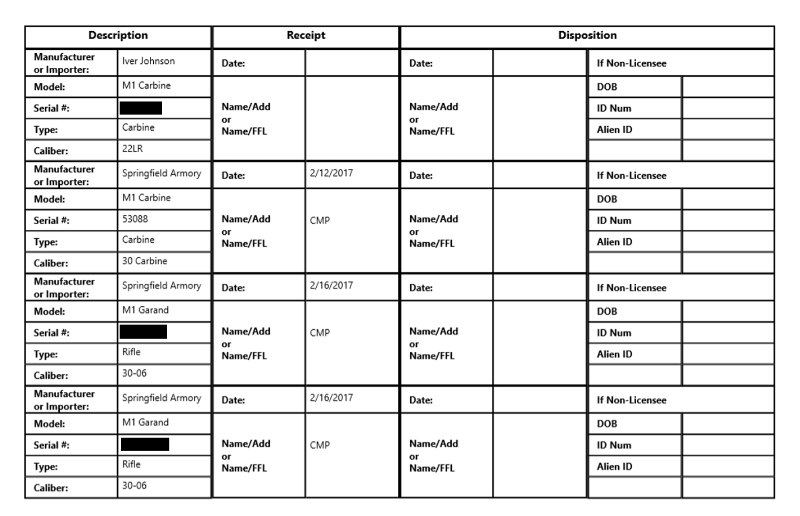
This report will only show firearms and follows the standard Acquisition/Disposition format.
#### Insurance

This report is designed to give to an insurance agency, it will include all accessories attached to the type and will also include any images that have been marked to be included in the report.
To include an image in the report, right click or long press the desired image on the items page and the select include in report.

#### Excel
This will simply create the report as an xlsx file with the following fields.
- Manufacturer
- Model
- Importer
- AquiredFrom
- DisposedTo
- Type
- SubType
- SerialNum
- NFA
- Caliber
- TotalValue
- EstValue
- InsuredValue
- CurCondition
- Finish
- FinishCond
- OtherMarkings